
Ocumen Configuration - Getting Started in Unity/C#
This guide explains how to add our pre-built configuration prefab to your scene and start customizing it.
Table of Contents
Step 1: Installation
Follow the installation steps in Ocumen for Unity Getting Started and install the Configuration package in step 3.3.
Step 1: Create a new scene with an XR Rig
Create a new scene and do one of the following:
- In the top menu bar, select GameObject > XR > Convert Main Camera to XR Rig
- In the Hierarchy, select the Main Camera and add the Tracked Pose Driver component and make sure the Pose Source is set to Center Eye
Step 2: Setup the TobiiXR Initializer prefab
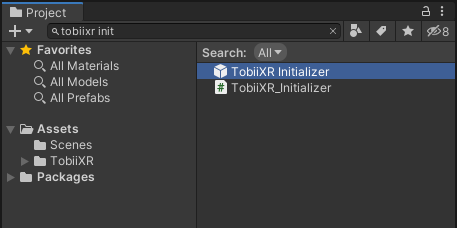
Search for the TobiiXR Initializer prefab in the Project tab and drag it into your scene.
Make sure you set the search option to “All” or “In Packages” because the prefab can be found in the packages folder.
Drag your license file to the License Asset field in the TobiiXR Initializer prefab in your scene.
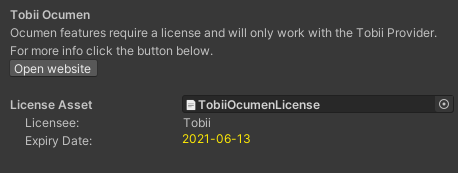
The license must have the file extension “.bytes”.
Step 3: Add the TobiiCalibration prefab to your scene
Search for the TobiiCalibration prefab in the Project tab and drag it into your scene. This prefab contains 3 nested prefabs for Position Guide, Calibration, and Post-Calibration Visualizer. The nested prefabs contain graphics, whereas the TobiiCalibration prefab contains the logic scripts.
Step 4: Run the configuration
Press the play button in the top menu bar to run the scene.
When ready, press one of the configured buttons to begin the configuration flow. By default, the configured buttons are the space bar or the trigger button on either controller. If you want to change the configured buttons, you can do so in ControllerManager.cs.
Step 5: Customize the Position Guide and Calibration
The configuration package allows you to customize graphics, timings, stimulus point locations, and other parameters. Best practices can be found in the ‘Tobii User Calibration Guidelines for VR’ document which can be found in the ‘Doc’ folder of the Ocumen package.
To customize graphics, simply replace the graphics in the nested prefabs.
To customize the behavior of the configuration, some commonly customized parameters are exposed in the inspector. Other parameters can be changed by editing the ‘View’ scripts which handle presentation logic for each configuration step.