
Tobii HTC VIVE Devkit Development Guide

This page will give you a step-by-step walkthrough on how to set up your Tobii HTC VIVE Devkit and how to get started with the Tobii XR SDK.
At the end of this guide, you will be able to highlight game objects by looking at them.
Table of Contents
Step 1: Set up your headset
-
Follow the VIVE Setup guide.
-
Download and install the Tobii Eye Tracking Core Software.
Step 2: Calibrate for your eyes
Download the Legacy Mirrors Demo and run the Setup step to calibrate the eye tracker for your eyes.
Step 3: Set up VR support
- Install the XR Plugin Management which can be found in the Project Settings tab.

If you are using Unity 2020.2 or later, you can enable and install the OpenXR provider and jump directly to Step 4.
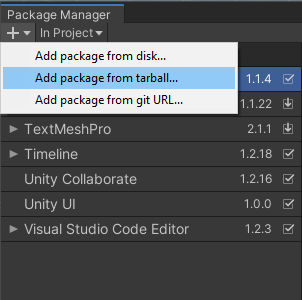
- Download the latest OpenVR Unity XR Plugin .tgz-file

- Open the Package Manager
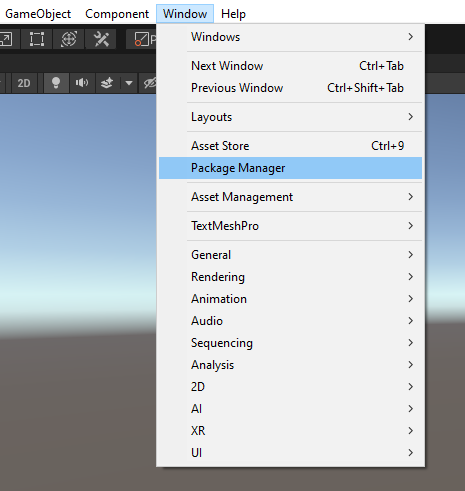
- Click “Add package from tarball…” and select the .tgz-file you just downloaded
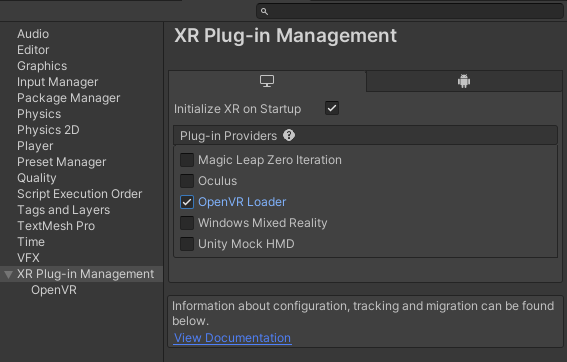
- Enable the OpenVR Loader in the XR Plugin Management found in the Project Settings tab
Step 4: Import the Tobii XR SDK
-
Download the Tobii XR SDK for Unity and unzip the package
-
Open the Package Manager
- Click “Add package from disk…”
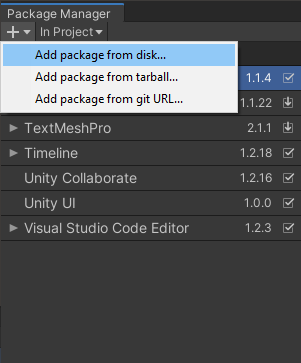
- Select the package.json file from the download location

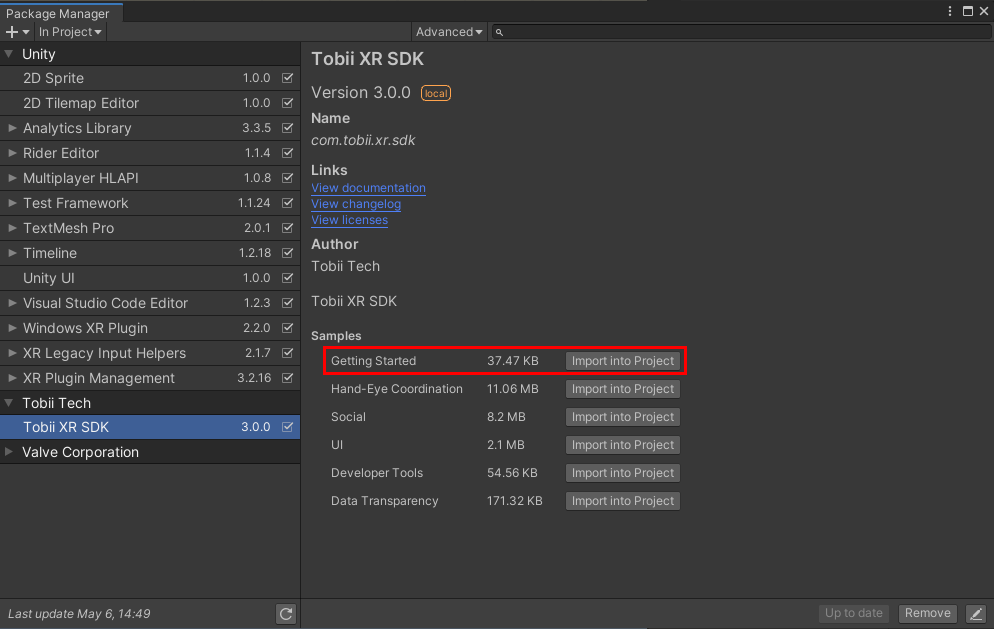
- Import the Getting Started sample
Step 5: Run the scene
Run the Example_GettingStarted scene found under the Samples folder
If you want to build your solution, make sure to build it for 64 bit.
To read more about the contents of the Example_GettingStarted scene, visit the example page.
Next steps
Congratulations! You’re now up and running with the Tobii XR SDK for Unity and can start developing with eye tracking in VR.
- Check out our Explore section for demos and prototypes.
- Check out the Documentation page, or try out our Unity Samples.
- Read more about designing for eye tracking in our Learn section.