Configuration Sample
The Configuration prebuilt sample shows a basic configuration flow. Many aspects of this flow can be customized with Tobii Ocumen. You can read more about configuration steps and customization in the Configuration Overview.
Table of Contents
Download
Here, you can download the prebuilt sample for your device. Source code access for the sample is provided as a part of Tobii Ocumen.
| Device | Download |
|---|---|
| Pico Neo 3 Pro Eye | |
| HP Reverb G2 Omnicept Edition |
Input
To proceed through the calibration flow you need to press the Configured Button.
The Configured Button is any of the following:
- Spacebar
- Pico headset button
- Controller trigger button
Step 1: Position Guide

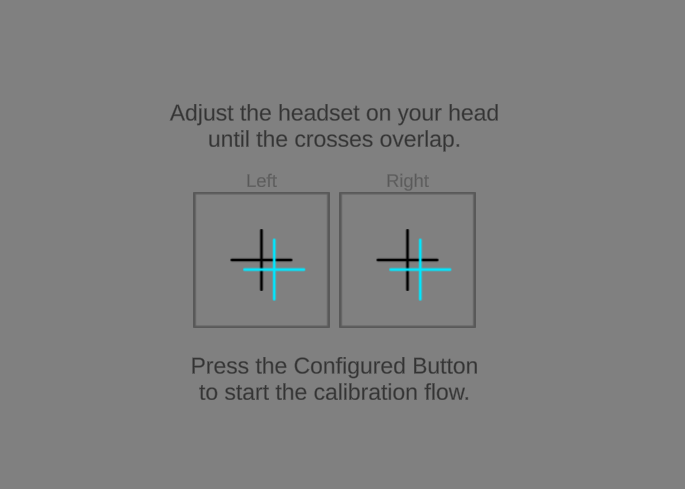
The first step in the sample is a Position Guide which instructs the user to align the blue crosses with the black crosses, resulting in the ideal headset placement for visual clarity and eye tracking quality.
In this sample, the horizontal adjustment is locked. This is to be compatible with a broader range of headsets, since some headsets do not have a hardware adjustable lens cup separation.
When the user has positioned their headset in a good spot, they can press the Configured Button to move on to the next step.
Step 2: Calibration

The next step is the Calibration. Users are instructed to follow the calibration point as it moves around the screen. The sample uses a 5-point calibration on a medium luminosity background in a cross-like pattern.
After the last calibration point, the calibration model is computed and applied.
Step 3: Post-Calibration Visualizer

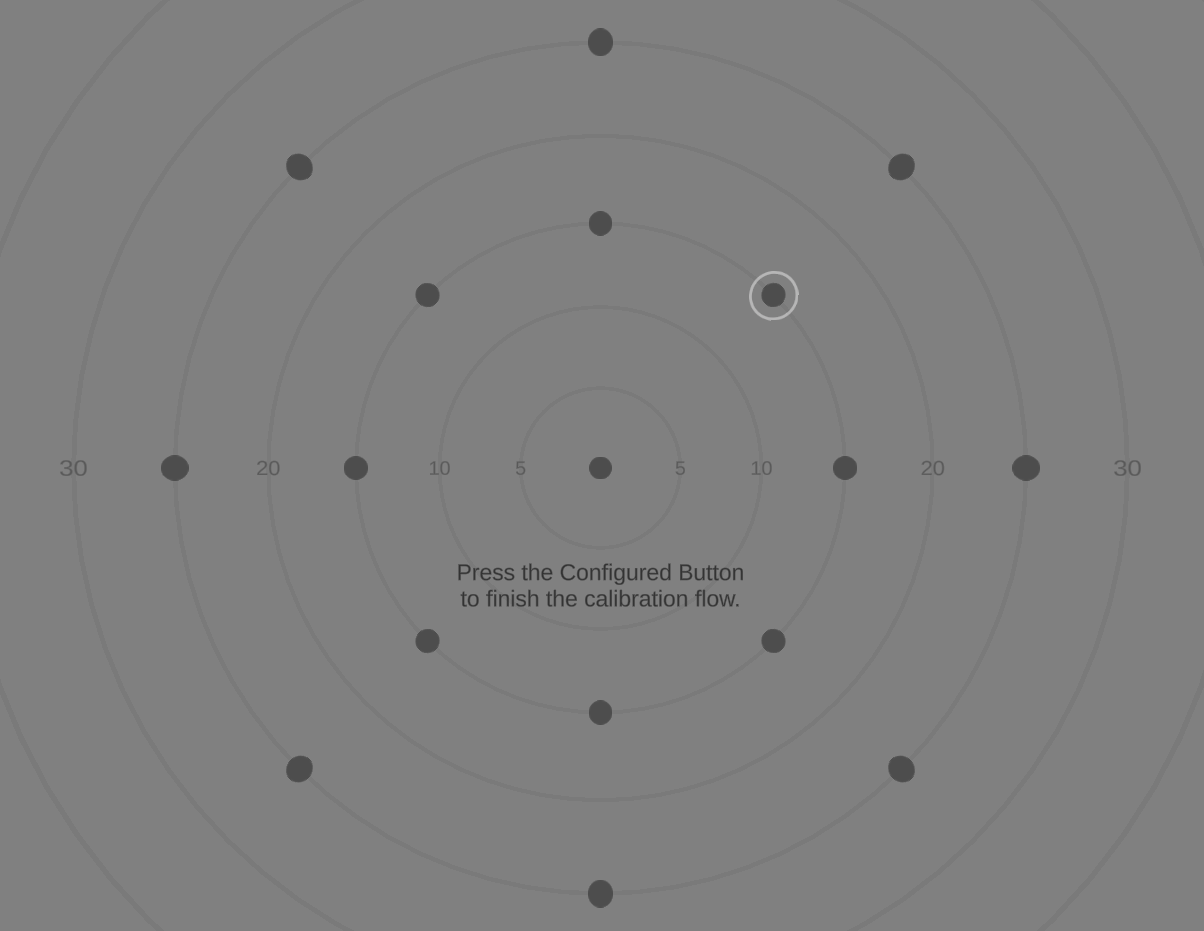
The last step in the sample is a Post-Calibration Visualizer, the user can check how accurate their new calibration is by looking around in the Post-Calibration Visualizer.
By pressing the Configured Button in this step, the configuration flow finishes.
