
The Hub
The Hub Demo showcases the contrast between eye tracking and other inputs, such as head or controller pointing and touch interactions, in a user interface setting.
It contains 5 scenes:
This demo was initially designed for a guided experience, meaning someone on the outside of VR would be telling a narrative as well as controlling what happens in the scenes by keyboard shortcuts, so some parts of the demo can be complicated and requires the use of keyboard shortcuts.
This demo contains sound.
This demo was made for interactions with one controller. We don’t support interactions using multiple controllers.
| Device | Version | Download |
|---|---|---|
| Pico Neo 2 Eye* | v3.1.0 | |
| HTC VIVE Pro Eye | v3.0.0 | |
| Tobii HTC VIVE Devkit | v2.0.1 |
*The Hub v3.1.0 for the Pico Neo 2 Eye is a modified light version of the Media Controls scene.
Setup
The setup step is only available for Tobii HTC VIVE Devkit version of the demo.
The first scene in the demo is the setup scene. Here, the user is presented with a visualization of their eyes in two holes on a black canvas.
Once you’ve put on the headset, click Spacebar to continue.

You will now be presented with a guide, helping you to position the headset and configure the IPD (to align the lenses with the distance between your pupils) for the best visual experience.
After this, a 5-point-calibration will be shown to calibrate the eye tracker for your eyes.
Hub
The hub is where you move between scenes and consists of a menu with 3 choices.
You go to a scene by looking at the respective image and pressing the trigger or touchpad, or by using the keyboard shortcuts (1-5) shown in the GUI.
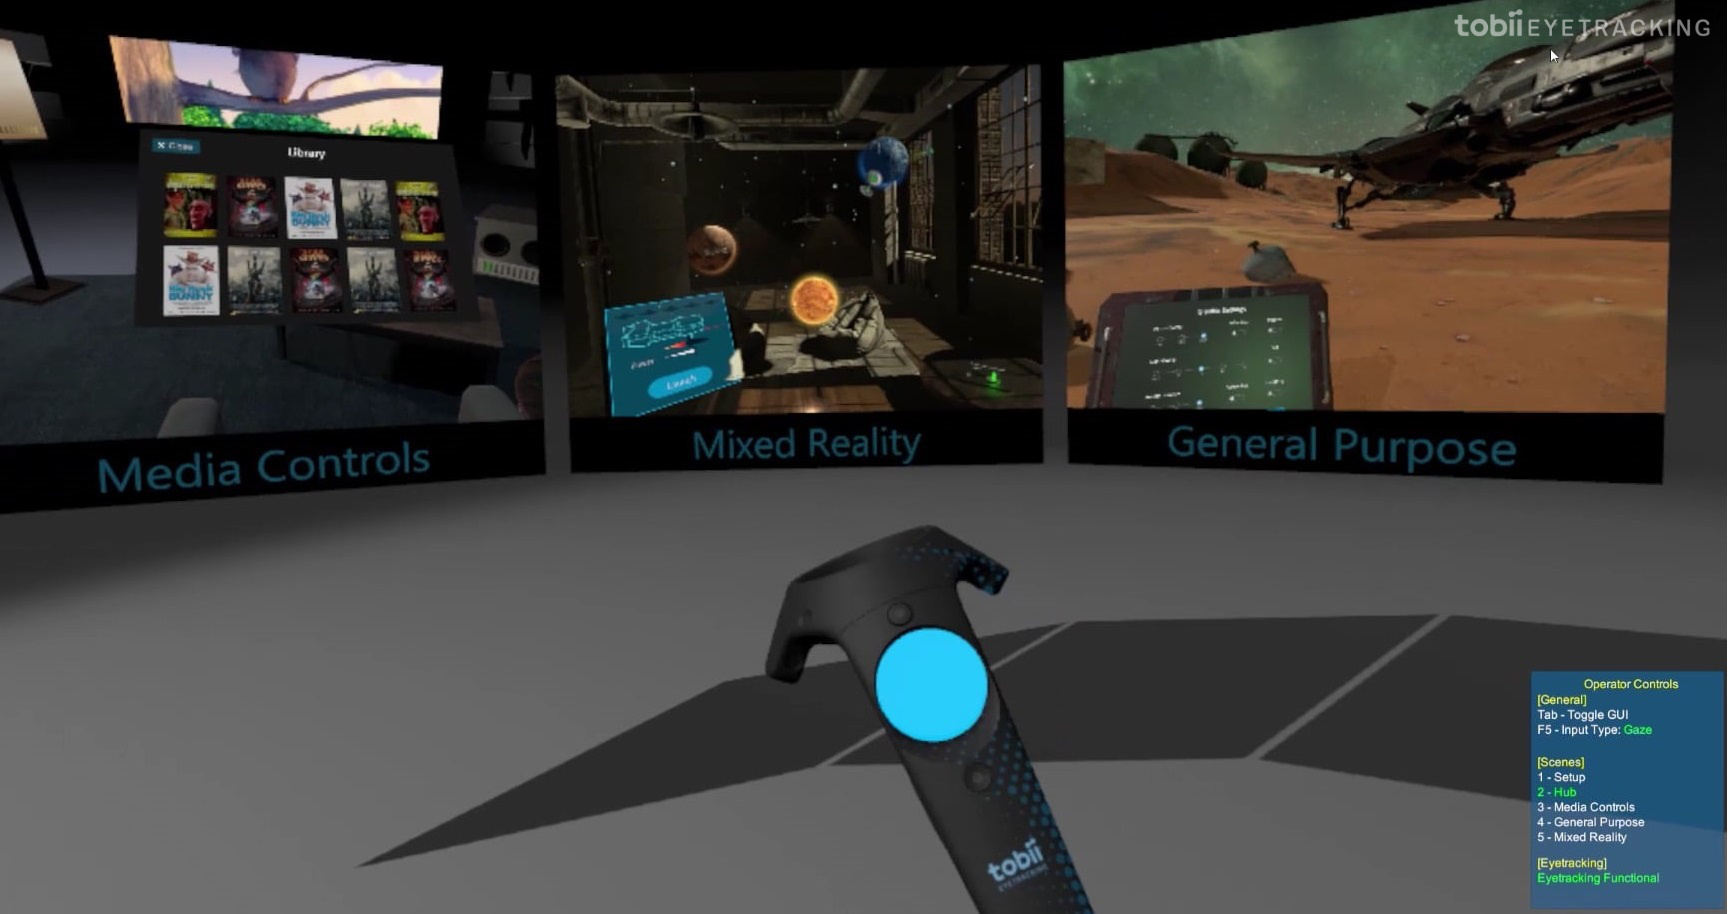
When entering a scene, a tutorial on how to interact in the scene will be presented.
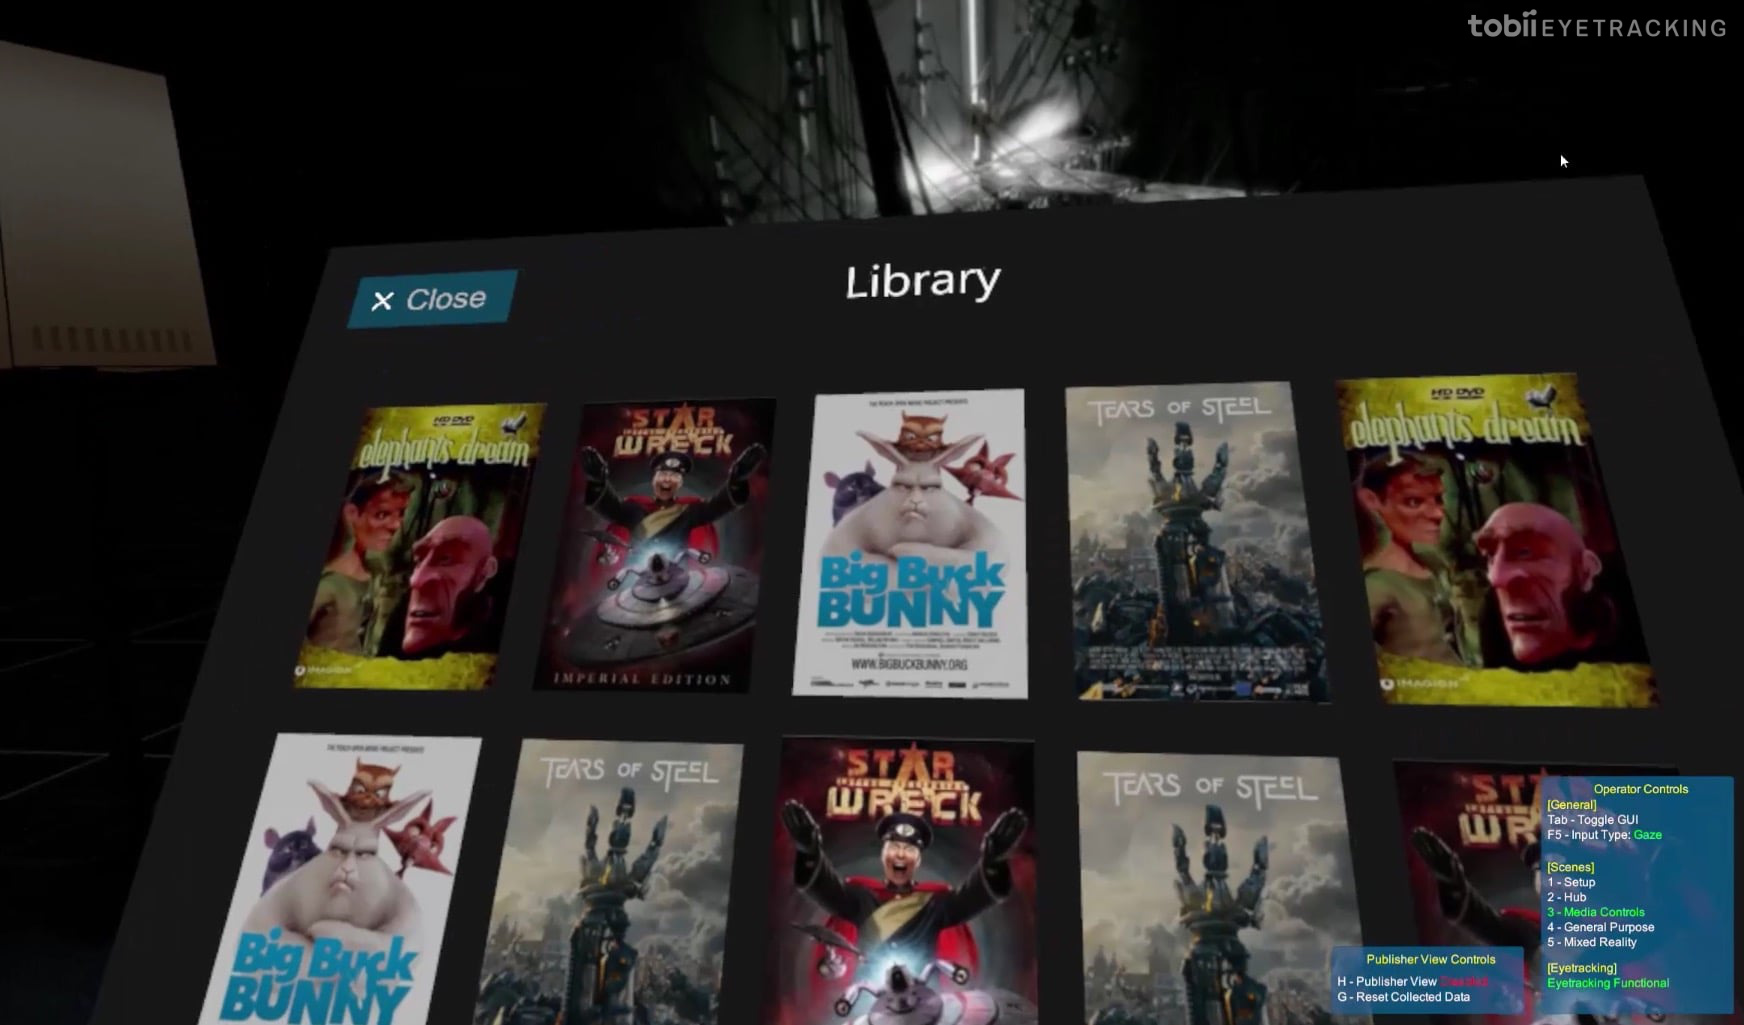
Media Controls
- Comparion: Pointer vs. Eye Tracking
- Input:
Touchpad Click/Slide
In this scene, you can interact with media controls by browsing a movie library and selecting one to play on the big screen. You can can play/pause the movie as well as scrub the progress bar.
In the environment, you can adjust the room’s lighting as well as the speaker’s volume.
By pressing G, you can toggle the Publisher View to display a heatmap of which movie thumbnails you looked at in the library.
To toggle between Pointer and Eye Tracking, switch the toggle button on your right with the current input.
To leave the scene, select the exit door behind you with the current input.
Mixed Reality
- Comparion: Head Pointing vs. Eye Tracking
- Input:
Trigger Click/Drag
In this scene, you can rotate the planets around and use the menu to launch rockets from Mars to Earth to destroy the UFOs that are abducting cows.
To visualize the planets and menu you first need to pick up the AR headset in front of you and place it on your head.
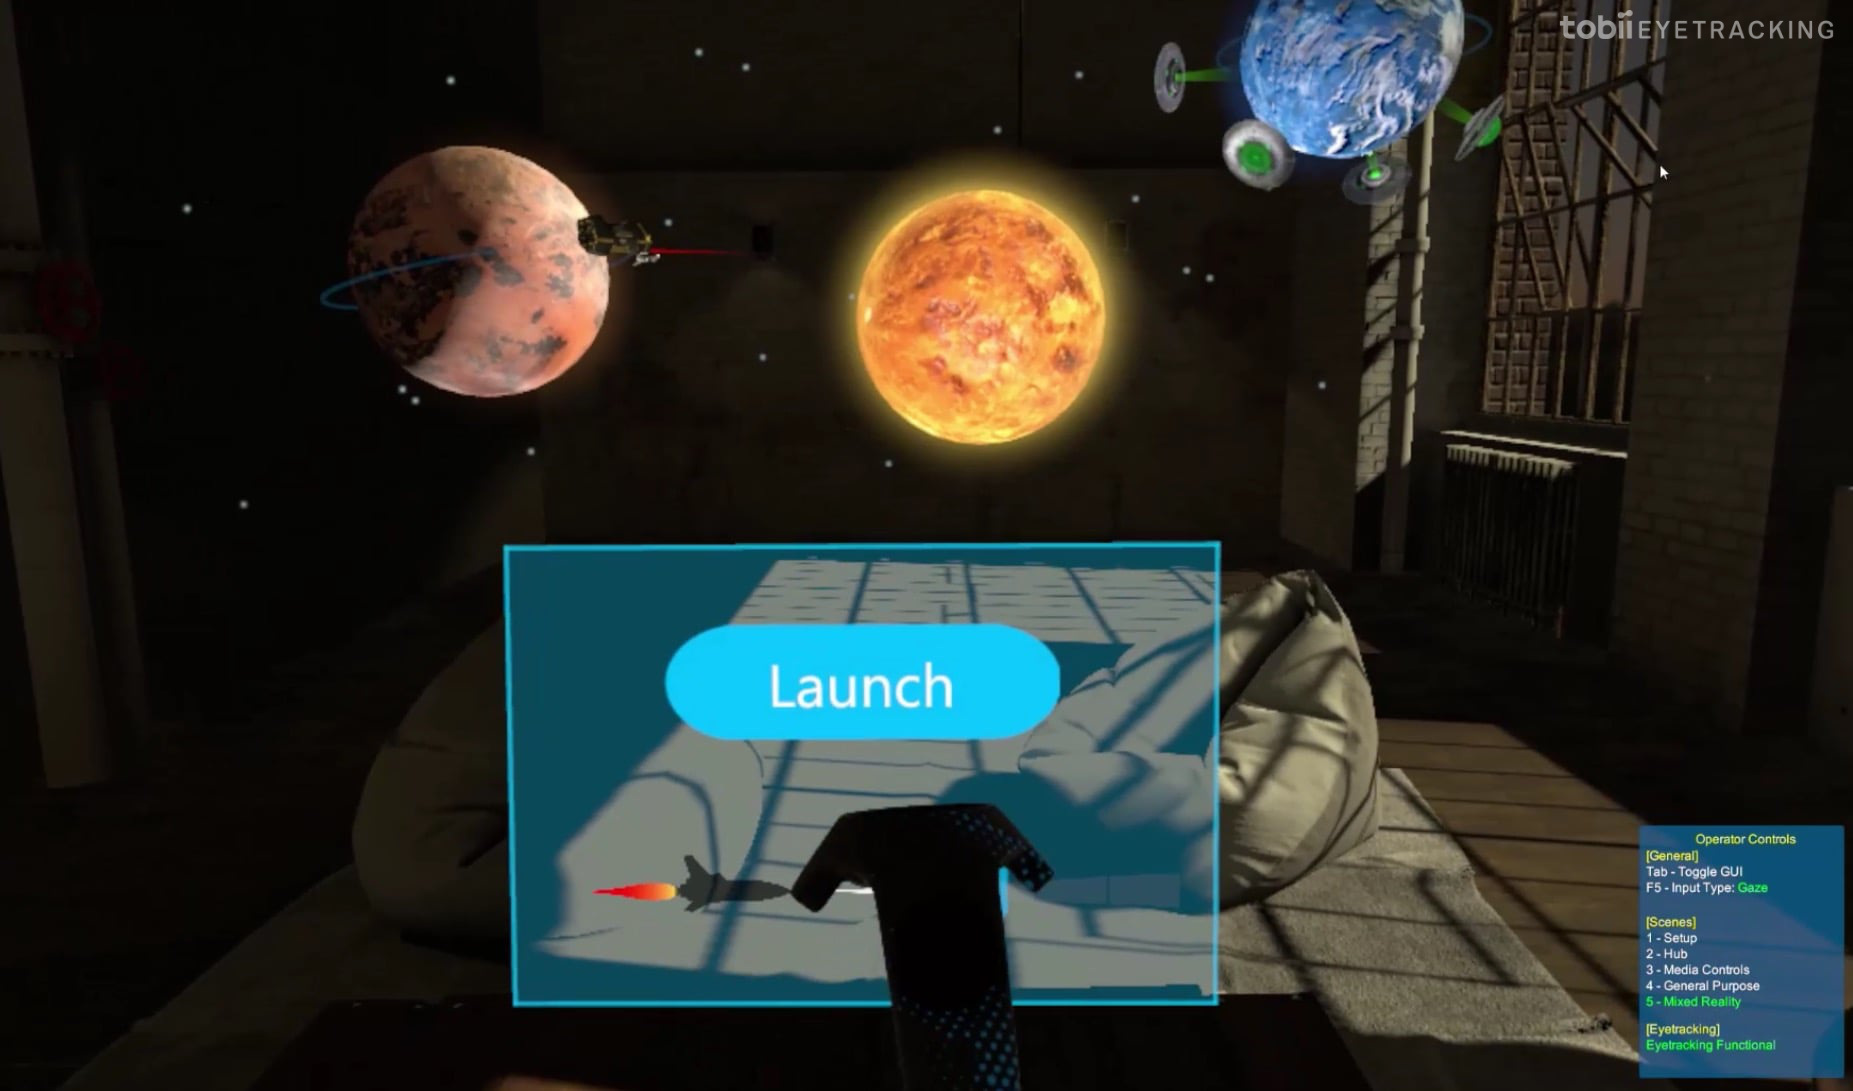
To toggle between Head Pointing and Eye Tracking, switch the toggle button on your right with your current input.
To leave the scene, select the exit door behind you with the current input.
General Purpose
- Comparion: Touch vs. Eye Tracking
- Input:
Trigger Click
In this scene you can operate an Emergency Transponder by customizing a message in the settings panel and transmitting a signal from the sattelite.
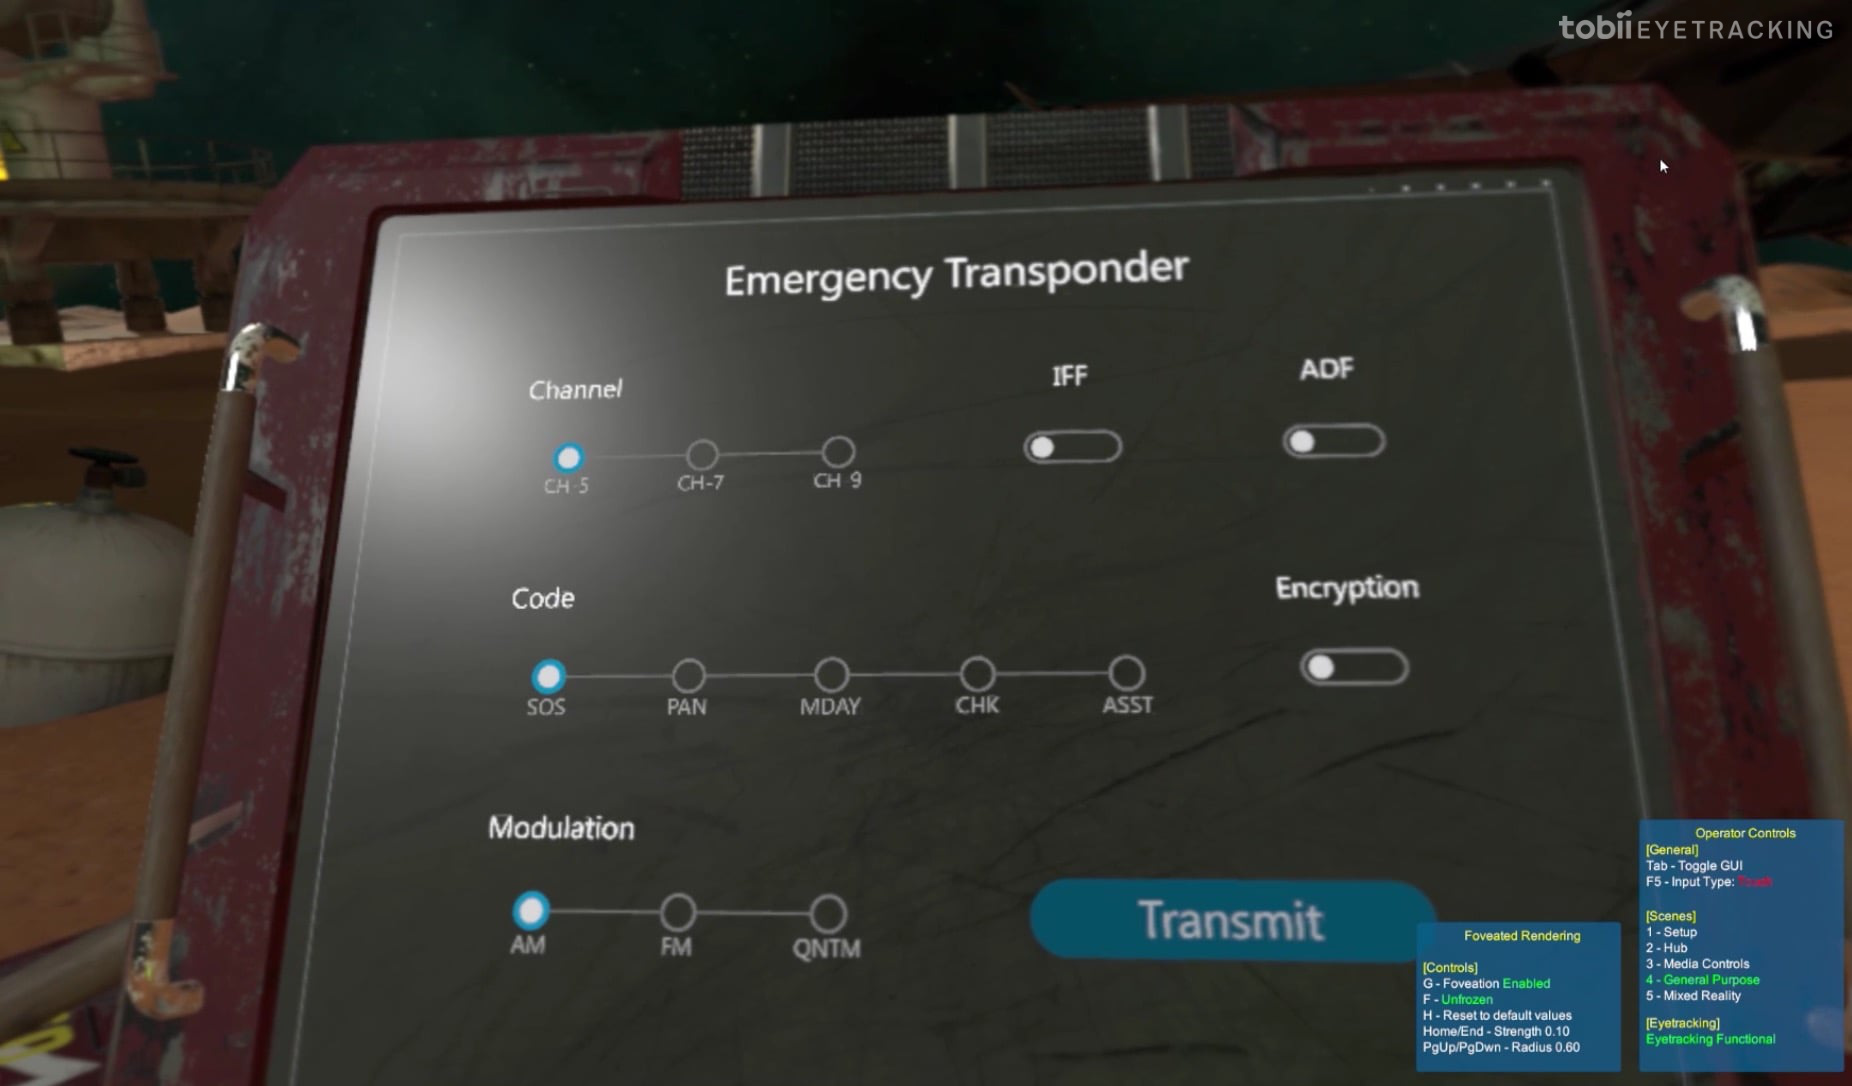
To toggle between Touch and Eye Tracking, switch the toggle button on your right with your current input.
This scene also has a foveation simulation to demonstrate that you as a user will not notice the foveation in Foveated Rendering use cases (this demo doesn’t actually save on CPU/GPU usage). Toggle the foveation by pressing G and freeze it so it can be observed by pressing F. More settings to customize the foveation can be found in the GUI.
To leave the scene, select the exit door behind you with the current input.