Ocumen I/O - Getting Started in Unity/C#
Record or stream live gaze and scene elements directly to Tobii Ocumen Studio from Unity.
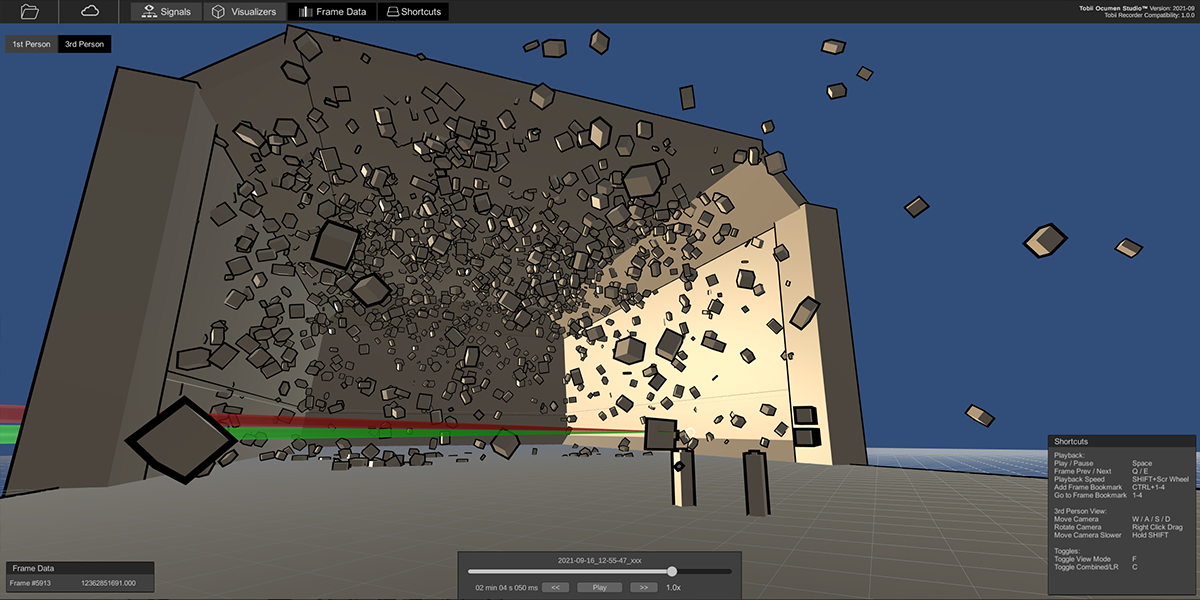
Once you enable recordings in your app you can use Tobii Ocumen Studio to inspect what happened.
Table of Contents
Installation
- Do not drag-drop the Unity code into your Assets folder; instead use the Unity Package Manager.
- Uninstall any public Tobii XR SDK you might have in your project. Tobii Ocumen comes bundled with its own Tobii XR SDK.
Step 1: Add VR support
Install the XR Plugin Management which can be found in the Project Settings tab.

Remember to enable the corresponding Plugin Provider for your headset, for more detailed instructions on how to set up VR support for your headset, see our getting started guides.
When following the getting started guide, skip the step of importing the Tobii XR SDK, it comes bundled in the Ocumen package.
Step 2: Download
To get Tobii Ocumen, please contact us via our contact form. The Ocumen package you receive will look something like this:

Inside this bundle you will find various files and folders. The exact details might change with each release and the contained README will give definitive insights on what’s included. However, all Unity code presented on this web site refers to content you can find in the contained Unity/Packages/ folder, marked below.
Step 3: Package Installation
Once you have unpacked Ocumen you need to import the Unity components into your project.
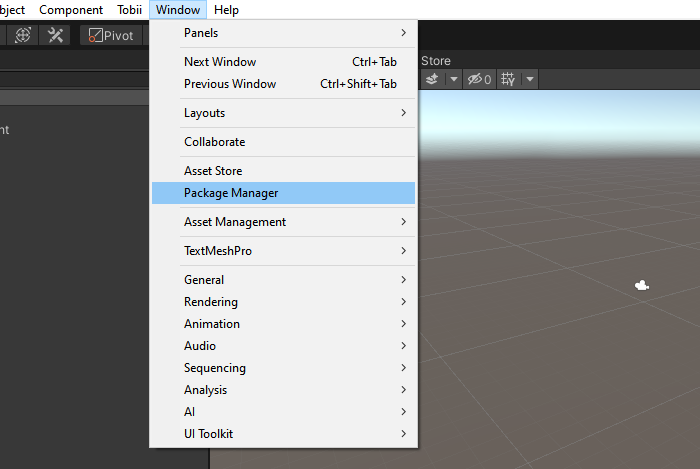
3.1 Open Package Manager
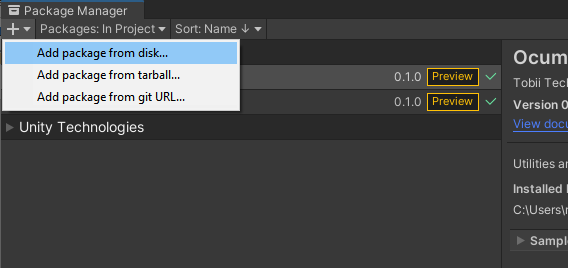
3.2 “Add package from disk …”
3.3 Import the package.json files in /Packages/ in the following order:
- XR SDK
- Ocumen
- Other packages (if any)
Step 4: Import Samples
Most packages come with samples and other Ocumen documentation often refer to these. You should import them into your project by pressing the Import-button in the Package Manager.
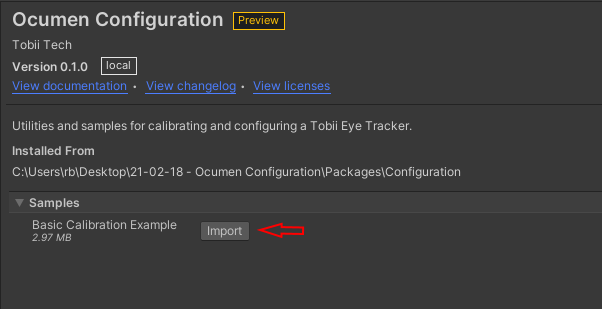
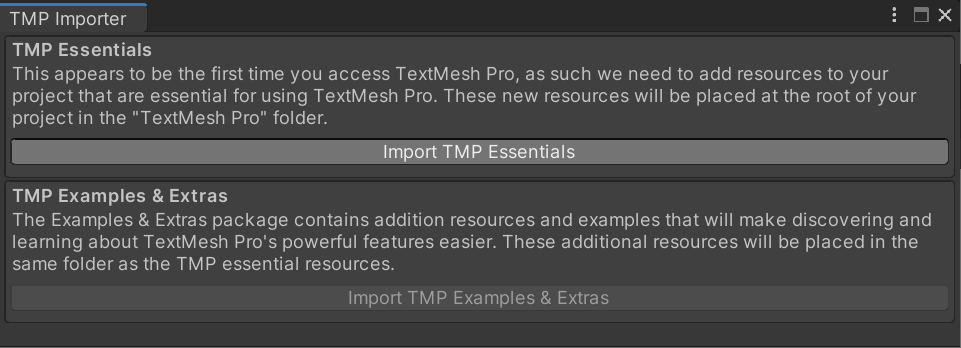
Some samples might require you to make additional choices after importing, e.g., resolving dependencies. You should usually confirm these dialogs, e.g., by clicking “Agree” or importing “Essentials” and reload the scene.
If your project is using Universal Render Pipeline (URP) remember that you might need to upgrade certain shaders in the samples.
Step 5: Add your License
To use Ocumen you need a license, both the legal agreement and a technical license file. To get a Tobii Ocumen license, please contact us via our contact form.
Once you have obtained your license file, add it to your Unity project and drag it to the License Asset field in the TobiiXR_Initializer script in your scene.
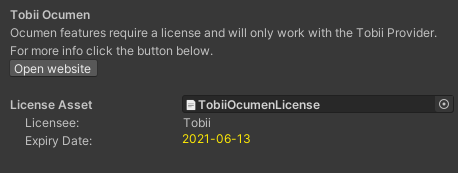
The license must have the file extension “.bytes”.
Step 6: Hardware-Specific Setup
The Tobii Ocumen packages and samples are set up without any external SDK dependency. For some platforms additional steps need to be taken:
Pico Neo 3 Pro Eye
Follow the Pico Neo 3 Pro Eye Getting Started Guide, skipping Step 4 of importing the XR SDK since it is already bundled in Tobii Ocumen.
Getting Started
To get started, you can either run the sample scene found in the accompanying Recording sample, try the Interaction Recording project or do following in your scene:
Step 1: Add the TobiiXR_Initializer script to your scene
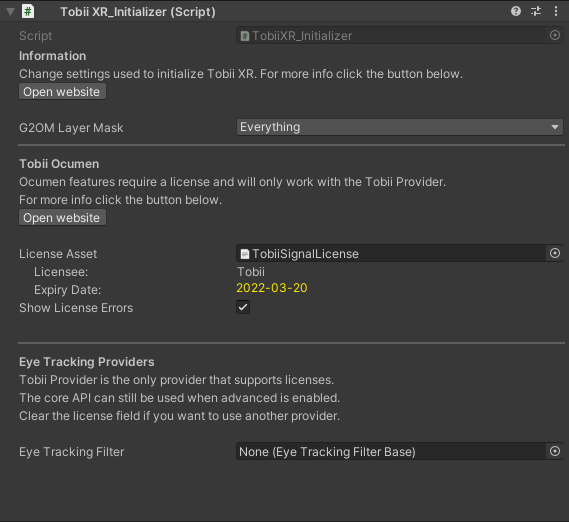
Make sure you add your license to the script.
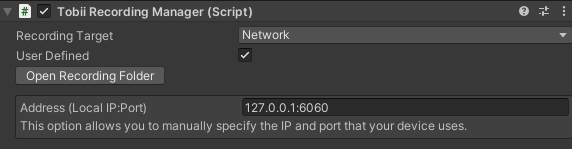
Step 2: Add the Tobii Recording Manager script to your scene
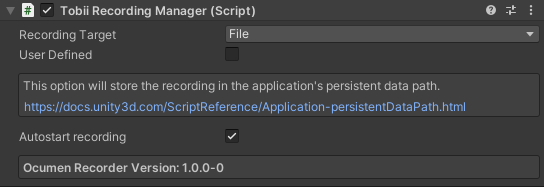
It can be set to record to file or stream over network. If recording to file and the path is not used defined, it will store the recordings in the application’s persistent data path.
Autostart recording will automatically start recording at the start of the app and end when closed. If you want to manually control starting and stopping recordings, you can add the TobiiRecordingToggler to your scene or create your own script to handle this.
You can setup the IP address and port of the headset if you want to stream over the network.
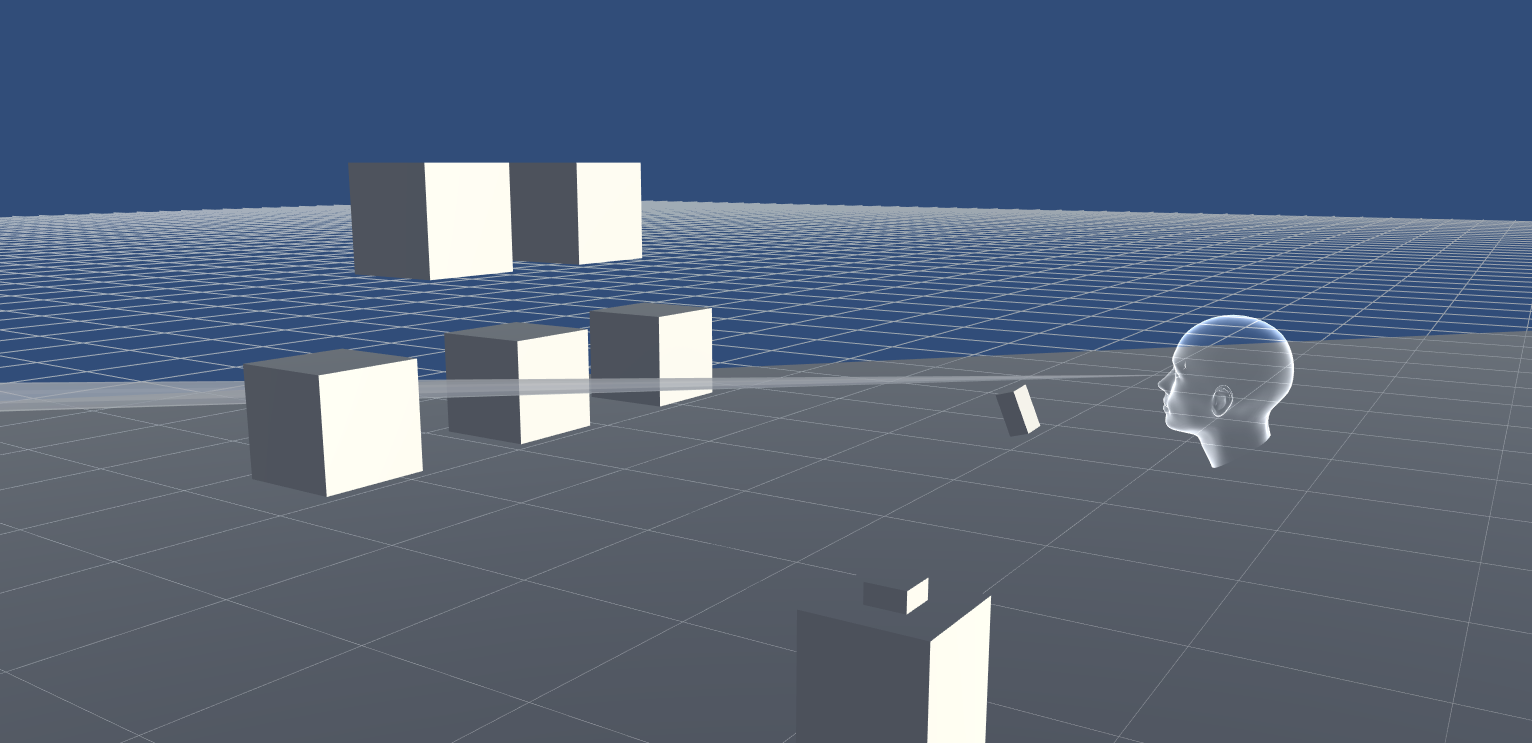
Step 3: Add recorders

The recorders will determine what data will be recorded. These have to be added to the same game object as the Tobii Recording Manager.
There are several recorders, and their naming might differ slightly from the picture above. Not all recorders are available in all versions or packages.
Step 4: Run Your App!
Once a Tobii Recording Manager and recorders have been added to your scene, you can compile or launch your app!
Step 5: Open Tobii Ocumen Studio
Either with your application running in streaming mode or after creating a recording, you can launch Tobii Ocumen Studio to analyze your data.